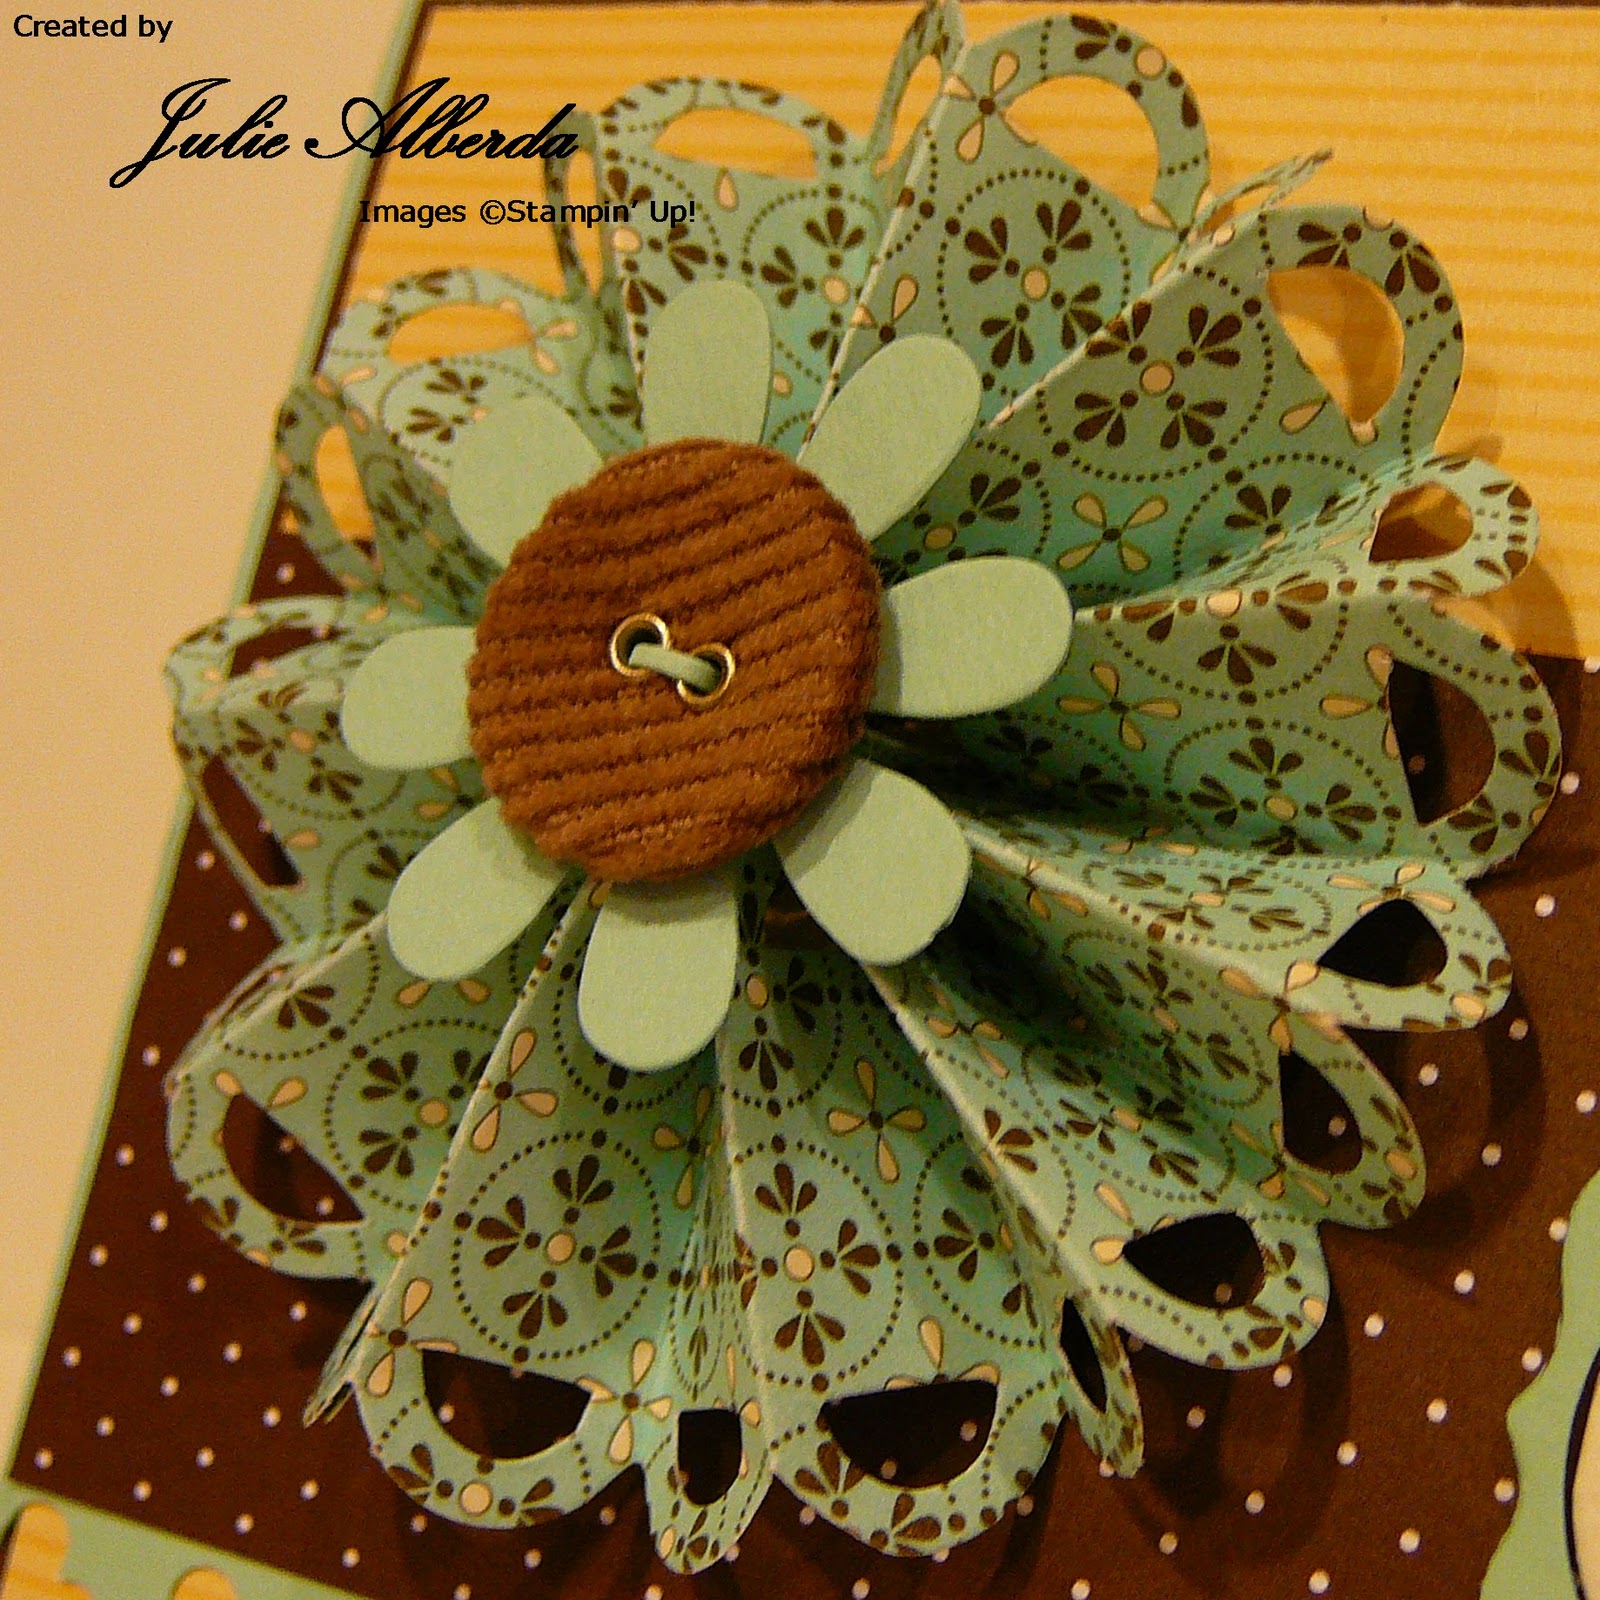
Monday, January 28, 2013

A Couple of Workshop Projects

 Hey there!  Playing with some of my new toys from the Occasions Catalog and the Sale-A-Bration Catalog.  Oh my goodness, are they fun!  This card was inspired by a card posted on the Stampin' Up! Demonstrator site.  Yes, only SU demos are allowed to go there and get ideas.  This card is White on White with the top layer spritzed with Vanilla Shimmer.  The Petite Curly Label (SAB item) was punched out of the Whisper White layer first, then the hearts were embossed with the Adorning Accents Embossing Folder.  After that we spritzed.  Looking back, I think I would attach the different colors of hearts first before spritzing so that they could also be shimmery.  Then we stamped the Heart Label stamp (Pretty Petites stamp set SAB)n in Rose Red onto Pink Pirouette and punched it out with the Petite Curly Label punch and attached it off-center with a Dimensional.  The Love stamp is from Lovely Little Labels and is punched out with the Little Labels punch pack.  Since we wanted a larger rounded corner, we used the 1 3/8" circle punch to round them.  The hearts are punched out of Pink Pirouette, Pretty in Pink, Regal Rose, Primrose Petals, and Rose Red.
This card made with the Just Believe stamp set was also inspired by a card posted on the SU! demo only site.  The original colors were Baja Breeze and Chocolate Chip.  I didn't have any Baja Breeze DP, so I used the Floral District Melon Mambo piece.  We stamped with VersaMark on the DP and embossed with white EP.  The Vine Street Embossing Folder (SAB Item) was used on the strip of Melon Mambo.  The background colors are Raspberry Ripple and Early Espresso.  I don't think this photo really does the colors justice.  It's much better IRL.  Oh, and to save a little cardstock, we punched the Modern Label piece of Early Espresso out of the center of the background Early Espresso piece.  :-)  I always love ways to save cardstock!

Thanks for stopping by the Stamping Station!  I hope you come by again soon.

Blessings,
Julie
Share this Post Share to Facebook Share to Twitter Email This Pin This


Tuesday, January 22, 2013

Happy Birthday with a Valentine Set

This is a card that we made at a workshop in November.  Yes, the stamp set was in the Holiday catalog, so I don't believe it's available right now, but I wanted to show you that you can make fun birthday cards with Valentine sets.  Framelits cut out the two label shapes, we used the Piercing Mats to punch around the inside of the Very Vanilla frame.  The colors are Island Indigo, Raspberry Ripple, and Summer Starfruit.  The gate card is easiest to make when you use the Simply Scored and score on the 2 3/4" and 8 1/4" lines.  (I hope I got that right!)  What fun things have you made with your Big Shot and new stamp sets lately? 

And Sale-A-Bration is here!  It starts today.  Click on this link to the details of the sale.  It's a wonderful time to be a hostess and to purchase.  I'm planning on updated a lot of my ink pads and get the extra credit from that sale.  How are you planning on Sale-A-Brating?

Thanks for stopping by the Stamping Station again. 

Blessings!
Julie
Share this Post Share to Facebook Share to Twitter Email This Pin This


Monday, January 21, 2013

It's Almost Sale-A-Bration!

 Oh goodness, it's been a long time again!  I hope I can get back into this blogging thing.  This first pic is the first prize ribbons that I made from bamboo spoons (from a dollar store), the stamp sets Blue Ribbon and Hello Doily, and my Designer Rosette Bigs XL die.  Yes, the rosettes go a lot faster when your Big Shot does the cutting and scoring!  The color is Pacific Point.  The best part about these ribbons is that the hole at the top of the spoon allows the winners to display their ribbon on their wall by hanging it on a hook.  Cool, eh?
 This card was a lot of fun.  I made it with a little inspiration from Splitcoaststampers.com.  The grass is a decorative sizzlit and the question mark is embossed in white with the retired stamp set Whimsical Alpha.  The large oval was used for the top of the mushroom and the face is a shorter punch of the retired luggage tag.  On the inside it says "Hope you have a great 1-Up day!  Happy Birthday!"  Yes, that was written on the center block on the inside.  Colors are Basic Black, garden Green, Cajun Craze, Daffodil Delight, Whisper White, Blushing Bride.  The dots are the medium size of the eyes on the owl punch with 3 of them layered together to give it a brad look.
I just made this card this weekend for my nephew who is really into legos!  His present was legos, wrapped in lego wrapping paper and a lego card.  Can it get any better than that?  I love being able to coordinate the card to the present!  This card is 8 1/2" x 5 1/2", the squares are 1" and the circles are made with my mini circle punch.  The letters were stamped with the retired stamp set "Rough Edges Alpha."  By the way, he loved the card.  :-)  Oh, and the colors are Real Red, Pacific Point, and Daffodil Delight.
Ok, I'll try to get back on here later this week.  I have some babies to stamp for and a baby shower banner to make.
Happy stamping and thanks for stopping by the Stamping Station!
Blessings,
Julie
Share this Post Share to Facebook Share to Twitter Email This Pin This


Monday, November 12, 2012

Blessed Assurance

Refuge and Strength, Pool Party, Concord Crush, Pretties Kit
I made this for some friends of mine at church.  She was 22 weeks pregnant and then the baby died.  It was one of the saddest funerals I've ever been to, but yet a promise.  A promise that God will be with them no matter what and that they will get to meet their sweet Javon in heaven one day. 
The cross was inked in Pool Party and then "kissed" with the leaves in Concord Crush.  Still had me some silk flowers from a Pretties Kit so colored those a bit. 
I love the saying on this card.  Sometimes you need to know that God can see into your heart even when you can't find words to pray out your feelings. 

Thanks for visiting the Stamping Station.

Blessings,
Julie
Share this Post Share to Facebook Share to Twitter Email This Pin This


Thursday, October 25, 2012

Oh my goodness, it's been a long time since I blogged.  I must admit that I lost my stamping mojo for awhile, but that turned out to be a good thing since my husband needed my complete attention while he spent 15 days in ICU with a nasty case of pneumonia.  I'm happy to report that he's hale and hearty now.  Back to his regular self.  And now it's time to get back to stamping again!  This is one of the cards for this month's workshops.  It's a wonderful set (Perfectly Preserved)and is so much fun to use.  I bought the bundle so that the stamp set and matching framelits would be less money all together.  The jar was stamped on a transparency and glued to the back side of the cardfront.  Isn't that fun?  The DP is Twitterpated and the ribbon is the scalloped polka dot.  So much fun!  I promise to try to get back here over the next few days to show off what we've been doing this month.  I'll be headed in to surgery next Wednesday to take care of a herniated disc in my neck.  (yes, it's causing MAJOR pain and I'm on way too many pain pills to be able to drive round right now.) 

Happy stamping and I hope to see you again real soon!

Julie
Share this Post Share to Facebook Share to Twitter Email This Pin This


Friday, March 23, 2012

A Simply Soft Thanks

This card started with a makeover of a workshop project.  Since I didn't have all of the pieces left, I decided to copy a card.  Can I remember from where?  No!  It was back in January and it's too hard to go that far back in my brain.  I'm sure the information is long gone....  This was stamped in Wisteria wonder and the insides of the flowers were stamped in Pink Pirouette.  Isn't that a lovely combo?  The ribbon ruffle was made with Sticky Strip and Pretty in Pink taffeta ribbon.  A little scallop border edge on the other side and some Basic Rhinestones finish off this card.  Oh, and the DP is Flirtatious Specialty.  I really love that DP! 

Well, thanks for stopping by the Stamping Station again.  I'll try not to make it so long in between posts next time.  (I just wish I could promise that!)

blessings,
Julie
Share this Post Share to Facebook Share to Twitter Email This Pin This


Thursday, February 2, 2012

Sweet, Sweet Little Duckie

 This little duckie is so adorable!  I made this card for a friend of mine, whom I call Little Duckling.  the duck and water are watercolored.  Yes, I should have waited longer for the duck to dry before coloring the water, but this photo makes it look much more yellow than it really is.  Consider it a reflection of the duck, right?  The little border on the bottom was made with my little flower punch from the set of three itty bitty punches.  The frame was made with my sizzlit and the center was punched out with the wide oval punch.  I popped the frame up a bit so that the lollie wouldn't be the only 3-D item on the card.  Oh, yes!  The Lollie!
Isn't this lollie lovely?  It was very easy!  I made it with my Big Shot and my new Designer Rosette XL Die.  I really love the scallops on the edge of the lollie.  Makes it so pretty!

So, what have you made with your Designer Rosette?  I'd love to see it!  What?  You don't have it yet?  Well, go click on that "Shop Now" button and choose the mini catalog option.  You're sure to find some really fun stuff.

Thanks for stopping by the Stamping Station!

Blessings,
Julie
Share this Post Share to Facebook Share to Twitter Email This Pin This


Tuesday, January 17, 2012

CASE'd Beauty of a Card!

 Here's a close up of a card that I CASE'd.  The original was lovely, but had to duplicate 6 times so I simplified it a bit.  This is the detail view.  See the flocked Designer Paper?  I love that paper!  It's from the Mocha Morning collection.   
And the shapes used to cut out the sentiment and layering are from the new Labels Framelits in the Occasions Mini Catalog.  Isn't that beautiful????  And so easy!  You're going to see a lot more of these, I promise! 

Ok, it's snowing heavily now, so I need to take a break and go pick the kids up from school.  Seattle is supposed to get dumped on today and tomorrow.  Woo Hoo!!!!!  Let the snow play and sledding begin!  We have a serious hill and a water pipeline behind our house, so it's a clear shot down the hill and the local kids LOVE it.  A great place to sled!

Thanks for stopping by the Stamping Station!

Blessings,
Julie
Share this Post Share to Facebook Share to Twitter Email This Pin This


Saturday, January 14, 2012

Scallop Weaving Flower

Yes, I was goofing around with another new set.  I made this for my swap with my upline, Sharon.  The ribbon is from the SAB catalog, the button in the center is from the Occasions Mini, the DP is from the Occasions Mini, too!  The Baker's twine is a new color ... Marina Mist.  So pretty!  Usually the weaving on the scallop is a lot more spread out, but I adjusted it so that the whole image in the center of the flower would show.  After adhering the twine on the back with Sticky Strip, I went over 3 scallops and then under two before coming up to go over 3 again etc.  I love the way it showcases the flower and I think it looks good with the Indigo color even though it's not a perfect match.  This fun DP is from the Specialty Sweet Shoppe collection from the Occasions Mini.  Ok.  I admit it.  I went a little overboard on my preorder!  But isn't this wonderful stuff???!!!!  Oh, and even though I played with the colors on the photo program, I couldn't make the Calypso Coral look like Coral.  It's much more orange on this photo and I don't like it that way.  It's so much prettier in person!

Well, thanks for stopping by the Stamping Station once again.

Blessings,
Julie
Share this Post Share to Facebook Share to Twitter Email This Pin This


Friday, January 13, 2012

Tea, Anyone?

If you haven't seen the new Occasions Mini Catalog yet, click here!  I just love this new set and the quilted ribbon and the new doily sizzlit and the new framelits and edgelits .....  See what I mean?  Just look at that lovely tea cup.  It's stamped in Pear Pizzazz, the flowers are colored in with Blushing Bride, and the dots on the flowers and at the tie of the bouquet are the new Red Dazzling Details.  And look at that fun new DP?!  It's lovely and goes perfectly with teh teacup.  I had so much fun playing with this stamp set.  I need to make some more projects with it.  I hope you'll love it, too.

Thanks for stopping by the Stamping Station.

Blessings,
Julie
Share this Post Share to Facebook Share to Twitter Email This Pin This